

TL;DR
If you want JavaScript live chat without building a WebSocket backend, paste Knocket’s async script into your site, replace YOUR_ID with the identifier from the Knocket console, publish, then test the full loop: visitor sends a message, you receive it, you reply, and the visitor sees the response.
Quick steps:
- Create your Knocket widget in the Knocket console.
- Copy the full JavaScript snippet from Knocket installation settings.
- Paste it before
</head>or</body>. - Keep the script
asyncso it does not block rendering. - Test on desktop and mobile browsers.
- Optionally connect Telegram or Email so messages reach your unified Knocket inbox.
Knocket is a lightweight contact tool for indie developers and early-stage teams. It is 100% free forever, with no ads and no seat limits.
What JavaScript Live Chat Is and When to Use It
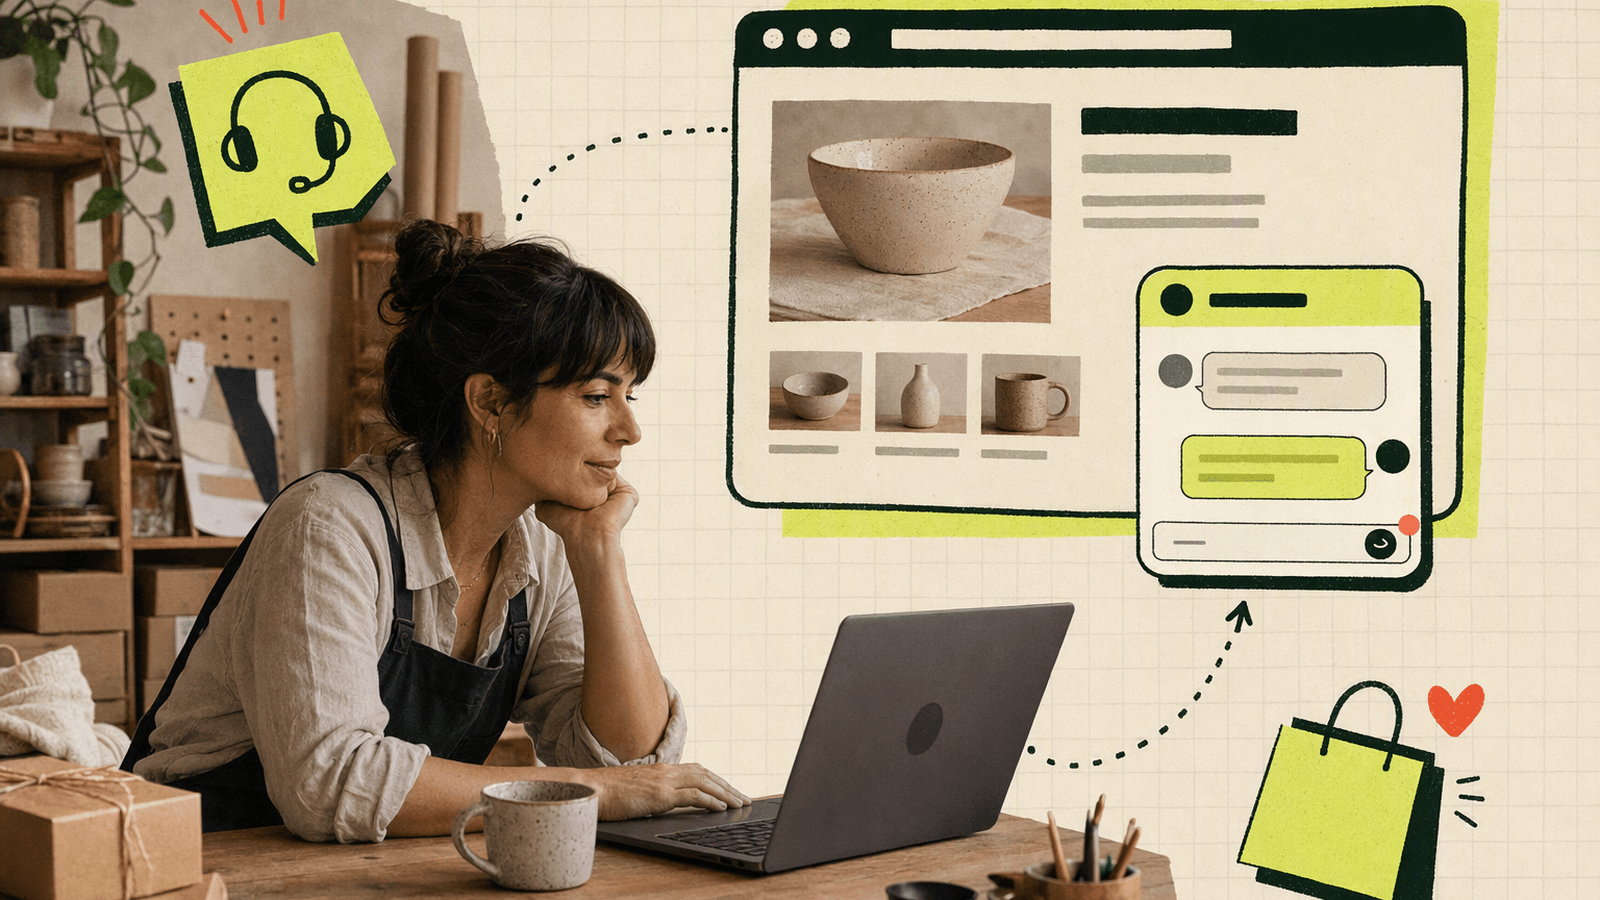
JavaScript live chat is a small client-side script that adds a chat entry point to your website. The visitor sees a floating button or widget, sends a message, and you reply from the product’s inbox or connected notification channels.
There are two common ways to approach this:
| Approach | What you build | Best for |
|---|---|---|
| Build your own chat app | UI, auth, storage, WebSocket server, notifications | Learning projects, custom chat products |
| Embed a chat widget | Add one JavaScript script and configure the contact flow elsewhere | Indie product sites, landing pages, docs, portfolios, waitlists |
For most early product sites, you do not need to design message queues, socket reconnection, unread state, and notification delivery. If your goal is to talk to the first users who land on your page, an embedded widget is usually enough.
Knocket fits the second path. It gives you a JavaScript live chat widget, a no-code Contact Page, and a unified inbox for live chat plus Telegram and Email. It is not a CRM, helpdesk, or enterprise customer-service suite.
Use JavaScript live chat when:
- You have a SaaS landing page and want early-user questions.
- You are launching a waitlist and want to catch objections.
- You maintain docs and want users to report confusing steps.
- You run a small store or service page and want pre-sale questions.
- You have a blog, portfolio, or open-source project page and want direct contact.
Why Script-Based Chat Widgets Are Flexible
A script-based chat widget works almost anywhere because the browser already runs JavaScript. You do not need npm, a build step, a framework integration, or a backend migration.
| Site type | Typical install location |
|---|---|
| Static HTML | Before </head> or </body> |
| Next.js | App layout or Script component |
| Astro / Nuxt | Shared layout or head configuration |
| WordPress / Shopify | Header injection, theme header, or theme.liquid |
| Webflow / Framer / Carrd | Custom code or header embed |
| Ghost / Squarespace / Wix | Code injection settings |
Script widgets are also easy to remove. You can add chat for a launch week, learn what visitors ask, and keep or remove it later without refactoring your app.
From a web performance perspective, the key detail is asynchronous loading. MDN’s documentation on the async script attribute explains that async scripts are fetched in parallel and executed when available, instead of blocking HTML parsing like a normal parser-blocking script. That is why Knocket’s embed snippet uses async.
The tradeoff: because async scripts load independently, your page should not depend on the widget for core layout or checkout logic. Treat live chat as an enhancement.
How Knocket’s Embed Script Works
Knocket’s JavaScript snippet loads the widget from Knocket’s hosted script endpoint and identifies your widget configuration with an identifier. The full, production-ready snippet comes from the console.
Use this pattern only as a reference; copy your actual code from Knocket’s installation page:
<!doctype html>
<html lang="en">
  <head>
    <meta charset="utf-8" />
    <title>Your product</title>
    <meta name="viewport" content="width=device-width, initial-scale=1" />

    <script
      src="https://trtc.io/knocket-sdk/sdk.js?identifier=YOUR_ID"
      async>
    </script>
  </head>
  <body>
    <main>
      <h1>Your product landing page</h1>
    </main>
  </body>
</html>
What happens after the script loads:
- The browser fetches Knocket’s widget script asynchronously.
- The script reads the
identifierquery parameter. - Knocket loads the matching widget settings.
- The visitor sees the chat entry point.
- Messages route into your Knocket inbox and connected channels such as Telegram or Email.
This is different from building a chat application with raw WebSockets, where you own session state, storage, retries, abuse handling, and notifications. For JavaScript basics, MDN’s JavaScript guide is a reliable reference.
Step-by-Step Installation with Plain JavaScript
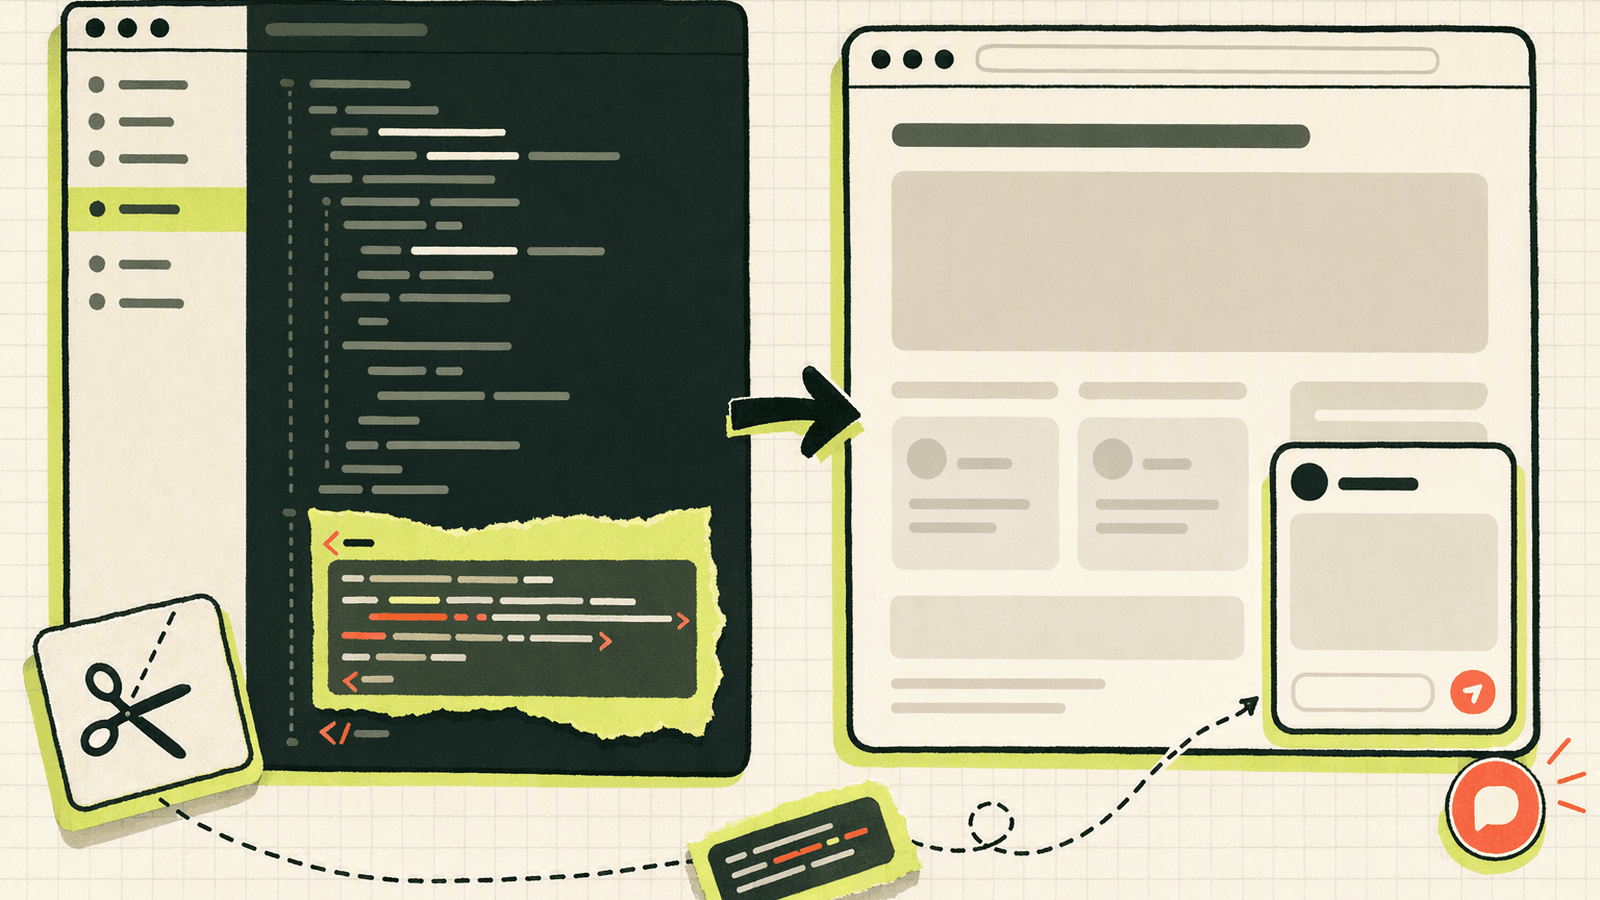
Follow this process when installing Knocket on a plain HTML or vanilla JavaScript website.
1. Create your widget
Go to the Knocket homepage and open the console. Create a widget, then configure:
- Theme color
- Welcome message
- Avatar
- Language
- Offline message
- Notification preferences
Keep the greeting specific. “Ask me anything about the beta” usually works better than “How can we help?”
2. Copy the script from the console
Open Knocket installation settings and copy the full snippet. Do not hand-type the identifier if you can avoid it.
3. Paste it into your HTML
For a simple site, paste the script before </head> or before </body>. Both can work. If your page has strict performance budgets, placing it near the end of body is a conservative choice.
4. Publish the site
Deploy the site through your normal host: Vercel, Netlify, Cloudflare Pages, GitHub Pages, your own server, or a website builder.
5. Verify the visitor-to-founder loop
Open the deployed page in an incognito window. Send a message as a visitor. Then check:
- The message appears in the Knocket inbox.
- You receive the expected Telegram or Email notification if configured.
- Your reply is visible to the visitor.
- The widget still appears after a page refresh.
Do not stop when the button appears; test the reply loop.
Where to Add the Chat Script in Your Site Structure
Put the Knocket script in the shared layout that appears on every page where you want chat. Avoid pasting it into individual pages unless you only want chat on one page.
| Platform | Recommended location |
|---|---|
| Plain HTML | Shared template before </head> or </body> |
| WordPress | Header injection plugin, or header.php before </head> |
| Shopify | Online Store → Themes → Edit Code → theme.liquid |
| Webflow / Framer / Carrd | Site settings custom code |
| Ghost / Wix / Squarespace | Code injection or custom code settings |
| Astro | Shared layout <head> |
| Nuxt 3 | Layout or useHead |
| Next.js | Root layout or Script component |
If you are using a single-page app, add the script once at the app shell level. Do not re-inject it on every route change.
If your site uses a consent banner, load the script after the visitor has accepted the relevant category. Here is a plain JavaScript loader pattern:
<script>
  function loadKnocket() {
    if (document.querySelector('[data-knocket-script]')) return;

    const script = document.createElement('script');
    script.src = 'https://trtc.io/knocket-sdk/sdk.js?identifier=YOUR_ID';
    script.async = true;
    script.dataset.knocketScript = 'true';

    script.onload = () => console.log('Knocket live chat loaded');
    script.onerror = () => console.warn('Knocket live chat failed to load');

    document.head.appendChild(script);
  }

  document
    .querySelector('#accept-contact-tools')
    ?.addEventListener('click', loadKnocket);
</script>
Replace YOUR_ID with your real identifier. The guard prevents duplicate injection if the visitor clicks twice or your app re-renders the consent component.
Customizing Chat Behavior Without Slowing the Page
Most Knocket customization should happen in the console, not in custom JavaScript. That keeps the installation stable and avoids fragile page-specific hacks.
Configure these in Knocket:
- Widget color
- Welcome message
- Avatar
- Language
- Offline state
- Notification channels
- Contact Page details
For early-stage products, the highest-leverage customization is the welcome message:
| Page | Better greeting |
|---|---|
| Waitlist page | “Have a question before joining the beta?” |
| Pricing page | “Want to check if this fits your use case?” |
| Docs page | “Stuck on this setup step? Send me a note.” |
| Open-source project | “Using this project? I’d love to hear what you’re building.” |
Avoid heavy custom logic around chat visibility unless you have a clear reason. A client-side support widget should not delay your main content, block navigation, or depend on a framework hydration event.
Google’s web.dev performance guidance is a useful reference for keeping third-party scripts from hurting page experience. The practical rule: load asynchronously, do not block rendering, and test on real mobile conditions.
If you need a no-code contact destination for social bios, email signatures, or launch posts, create a Knocket Contact Page.
Security, Privacy, and Performance Considerations
A JavaScript chat widget runs in the browser, so treat it like any other third-party script: install it intentionally, keep the snippet source unchanged, and test your page after deployment.
| Area | What to check |
|---|---|
| Source integrity | Copy the snippet from the Knocket console |
| Identifier | Make sure it matches the intended widget |
| Duplicate scripts | Confirm the script appears once per page |
| Consent | If required, load after consent |
| CSP | Allow the Knocket script source |
| Performance | Confirm the script is async |
| Accessibility | Ensure the widget does not cover critical mobile buttons |
For security background, OWASP’s Cross Site Scripting Prevention Cheat Sheet is a good reminder not to inject untrusted HTML into your own page. Keep the integration minimal.
For accessibility, review the W3C WAI guidance on making content accessible. On small screens, check that the chat button does not obscure your primary CTA, cookie banner, or checkout button.
Use Chrome DevTools, Lighthouse, or your hosting provider’s analytics to compare before and after. With an async chat script, it should not block the page from rendering.
Testing the Widget Across Devices and Browsers
Test like a visitor, not like the person who installed it.
Use this sequence:
- Open the live site in Chrome desktop.
- Send a message from an incognito window.
- Reply from your Knocket inbox.
- Confirm the visitor sees the reply.
- Repeat on Safari or Firefox.
- Repeat on a mobile browser.
- Test a slow network profile in DevTools.
- Refresh and confirm the widget still loads.
- Navigate between pages and confirm the script is not duplicated.
Also test your notification path. If you connect Telegram or Email, send a real visitor message and confirm the alert arrives.
The LiveChat Help Center page about enabling JavaScript in the browser highlights a basic but real dependency: browser-based chat needs JavaScript enabled. For critical contact paths, add a fallback email link or publish a shareable Knocket Contact Page in your footer.
JavaScript Chat Deployment Checklist
Use this checklist before you announce a launch, post on Product Hunt, or send traffic to a new landing page.
Installation
- Widget created in Knocket
- Full snippet copied from Knocket installation settings
-
YOUR_IDreplaced with the real identifier - Script includes
async - Script appears once per page
- Script is placed in a shared layout or global code injection area
Conversation loop
- Visitor can open the widget
- Visitor can send a message
- Message appears in the Knocket inbox
- Founder or teammate can reply
- Visitor sees the reply
- Offline message makes sense
Channels
- Telegram notifications configured if you want mobile alerts
- Email notifications configured if needed
- Messages from live chat and connected channels are checked in one place
- Contact Page published if you need a no-code link for bios, signatures, or QR codes
Performance and UX
- Widget does not cover mobile CTAs
- Page still renders before chat loads
- No console errors from duplicate script injection
- Works in Chrome, Safari, Firefox, and mobile browsers
- Fallback contact link exists for script-blocked visitors
The goal is simple: when someone wants to contact you, nothing should get in the way.
FAQ
Is JavaScript live chat the same as building a WebSocket chat app?
No. Building a WebSocket chat app means you create the UI, backend, message storage, presence logic, reconnection behavior, and notifications. Embedding Knocket means you add a hosted JavaScript widget and manage conversations from Knocket.
Can I use Knocket as a vanilla JS chat widget?
Yes. You can add Knocket to a plain HTML or vanilla JavaScript site with a single async script. You do not need React, Vue, npm, or a build tool.
Where do I find the Knocket JavaScript snippet?
Copy the full snippet from Knocket installation settings. The example in this article shows the pattern, but your production site should use the identifier from your own console.
Will the async chat script slow down my site?
The script is loaded asynchronously, so it should not block HTML parsing. Still, test your own site with DevTools or Lighthouse, especially on mobile. Also make sure you do not inject duplicate copies in a single-page app.
Can I use Knocket without a website?
Yes. Create a Knocket Contact Page and share the URL in your social bio, email signature, launch post, or QR code. It supports live chat and contact links without code.
Is Knocket a CRM or helpdesk?
No. Knocket is a lightweight contact tool for indie developers and early-stage teams trying to reach their first 100 users. It focuses on a website widget, Contact Page, unified inbox, and Telegram or Email notifications.
How much does Knocket cost?
Knocket is 100% free forever, with no ads and no seat limits.
Add Knocket to your site and test the full visitor-to-founder reply loop today at https://knocket.trtc.io/.