
TL;DR: Add Live Chat to Your Website in 5 Minutes
To add live chat to website pages with Knocket, create a widget in the console, copy the async script, paste it before </head> or </body>, publish your site, then send yourself a test message. Knocket is built for indie developers and early teams that need a lightweight contact widget, not a CRM or enterprise helpdesk.
Quick path:
- Sign in to the Knocket console.
- Open the Knocket installation page.
- Copy your widget script with your own
identifier. - Paste it into your website’s global head/body code area.
- Publish and test from desktop, mobile, and an incognito browser.
- Reply from Knocket Inbox, Telegram, or email notification if configured.
Knocket is 100% free forever, with no ads and no seat limits.
Why Add Live Chat to Website Experiences Today
Adding a live chat button gives visitors a low-friction way to ask before they leave. For early products, that matters because your first useful conversations often happen before you have polished onboarding, docs, sales pages, or support content.
A contact form asks the visitor to wait. A public email address asks them to switch tools. A live chat widget lets them send the question while the objection is fresh: “Does this work with Webflow?”, “Can I use this for my beta?”, “Where is pricing?”, “Do you support Android?”
This is especially useful for indie developers trying to reach their first 100 users. At that stage, the goal is to catch real intent, reply personally, and learn what users are confused about.
There is also a practical conversion reason. Baymard Institute’s cart abandonment research tracks a long-running average abandonment rate above 70% across ecommerce studies, showing how easily users drop off when questions or friction appear during a visit. Live chat will not fix a broken product, but it can remove one common failure mode: a motivated visitor who cannot find a direct way to contact you.
For performance, choose a widget that does not block rendering. Knocket’s website widget loads asynchronously, which aligns with MDN’s guidance on the async script attribute.
What You Need Before Installing a Chat Widget

Before you install website chat widget code, decide where conversations should go and who will reply. The technical setup is simple; the operational setup is what makes the widget useful.
| Item | What to prepare | Why it matters |
|---|---|---|
| Website access | Ability to edit global head/body code | The widget should load across selected pages |
| Knocket account | Console access | Needed to get your unique script identifier |
| Reply channel | Inbox, Telegram, or email | You need to notice and answer messages quickly |
| Welcome message | One short prompt | Helps visitors ask specific questions |
| Test device | Desktop and phone | Confirms the chat button works for real visitors |
| Privacy copy | Your site privacy policy if needed | Useful if you collect personal information |
Useful platform locations:
| Platform | Where to paste Knocket |
|---|---|
| WordPress | Appearance → Theme File Editor → header.php, before </head>, or a header/footer injection plugin |
| Shopify | Online Store → Themes → Edit Code → theme.liquid, before </head> |
| Webflow | Project Settings → Custom Code → Head code |
| Framer | Site Settings → Code → Head |
| Ghost | Code Injection → Site Header |
| Wix | Settings → Custom Code → Head |
| Squarespace | Settings → Advanced → Code Injection → Header |
| Next.js | Root layout or app shell with a lazy script strategy |
How Knocket Makes Website Chat Setup Simple
Knocket keeps the setup intentionally small: one website widget, a shareable Contact Page, and one unified inbox for messages from live chat and connected channels such as Telegram and email.
That makes it different from larger products that require chatflows, ticket properties, automation rules, or paid support modules before a simple chat button appears. Those controls are useful for bigger teams, but they can be too much when you only need a visitor to reach the founder.
Knocket’s website embed guide is closer to this flow:
- Create or open your widget.
- Customize the theme color, avatar, welcome message, and offline text.
- Copy one async script.
- Paste it into your site.
- Receive and reply to messages in one place.
Start from the Knocket website widget setup if you already have a site. If you do not have a site yet, publish a no-code Knocket Contact Page and share that link in your social bio, email signature, beta invite, or launch post.
Step-by-Step Guide to Installing the Knocket Widget
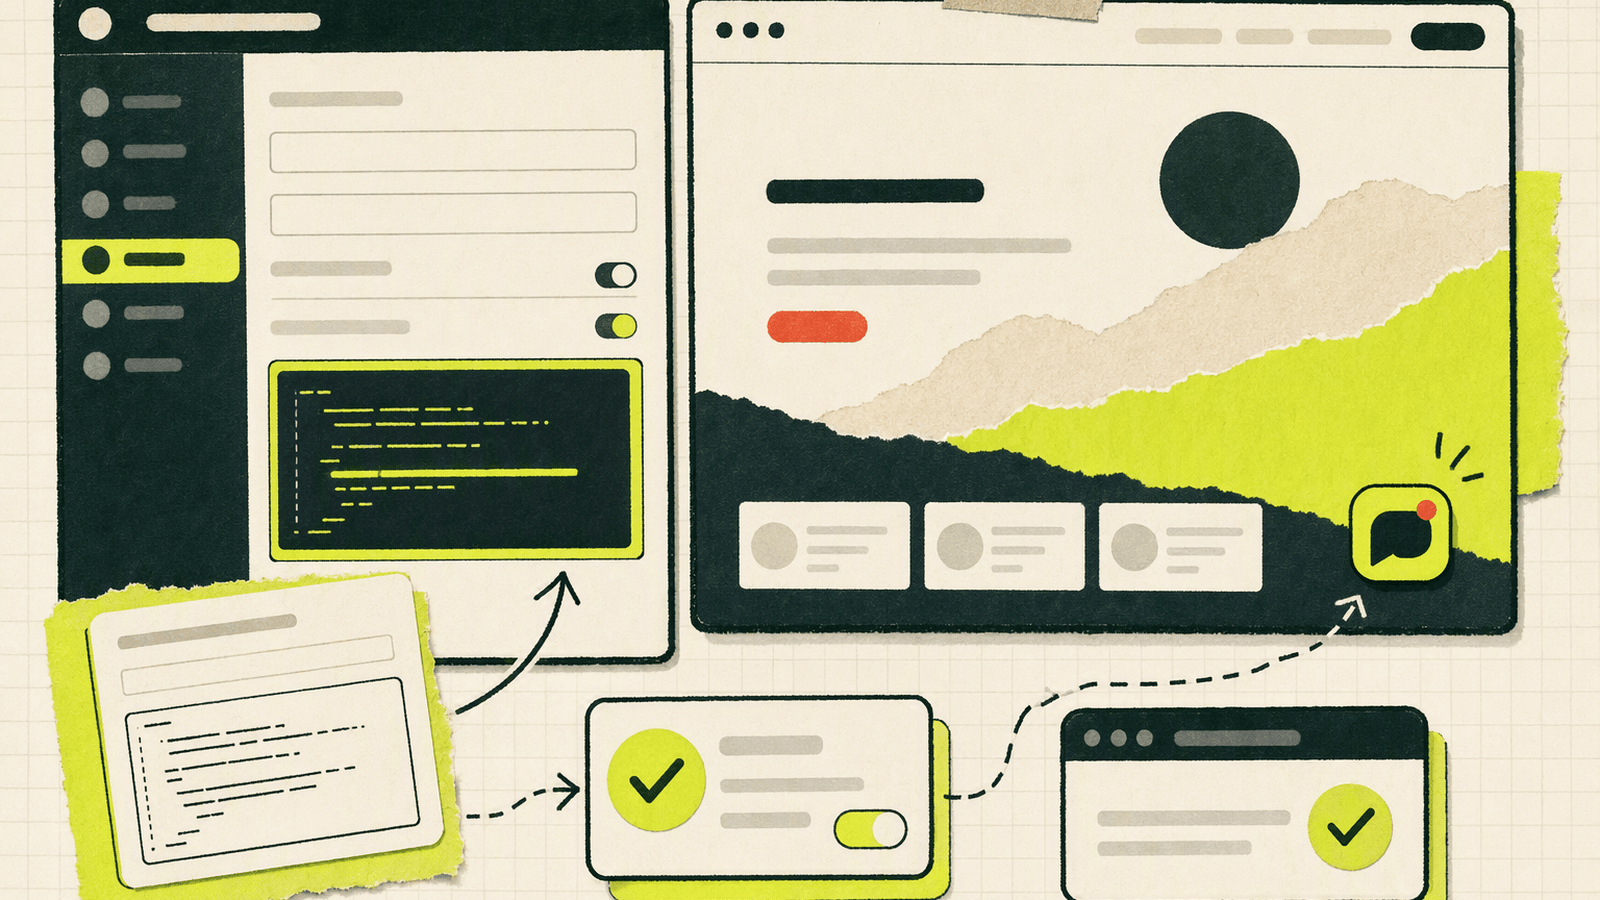
Information checked: August 19, 2026. Always copy your current snippet from the official Knocket console, because your identifier is unique.
1. Create your Knocket widget
Go to the Knocket console and create a widget for your website. Configure the basics first:
- Theme color
- Avatar or profile image
- Welcome message
- Offline message
- Language
- Notification preference
Keep the first version simple. You can improve the copy after you see what visitors ask.
2. Copy the installation script
Open the Knocket installation console and copy the full code shown for your widget.
The generic shape looks like this:
<!-- Paste before </head> or </body>. Replace YOUR_ID with your console identifier. -->
<script
  src="https://trtc.io/knocket-sdk/sdk.js?identifier=YOUR_ID"
  async>
</script>
Do not reuse YOUR_ID. Your real identifier comes from the console. The async attribute helps avoid blocking page rendering while the script downloads.
3. Paste the script into your site
For no-code builders, paste the script into the global head or body injection field. For custom sites, place it in the shared layout used by your marketing pages.
For a Next.js App Router site, keep the script in your root layout or a shared marketing layout:
import Script from "next/script";

export default function RootLayout({
  children,
}: {
  children: React.ReactNode;
}) {
  return (
    <html lang="en">
      <body>
        {children}
        <Script
          src="https://trtc.io/knocket-sdk/sdk.js?identifier=YOUR_ID"
          strategy="lazyOnload"
        />
      </body>
    </html>
  );
}
Use the full script from the Knocket embed guide in the console. The example above only shows the placement pattern.
4. Publish the site
Most builders require an explicit publish step. In Git-based deployments, push the change and wait for your host to deploy. Then open the production URL, not only localhost.
5. Send a real test message
Open your site in an incognito window, click the chat button, and send a message as if you were a new visitor. Reply from Knocket Inbox or your configured notification channel. The setup is complete only when the visitor can see your reply.
Choosing the Best Pages and Placements for Chat
Do not blindly show chat everywhere on day one. Start with pages where a visitor is likely to have a decision-making question.
Good first pages:
- Homepage
- Pricing page
- Product demo page
- Documentation landing page
- Waitlist page
- Checkout or plan-selection page
- Open-source project homepage
- Portfolio or service inquiry page
If your site has heavy reading pages, test whether the widget distracts from reading. A small floating button is usually fine, but avoid covering navigation, cookie banners, checkout buttons, or mobile CTAs.
For early-stage teams, the best placement is often the page where you currently lose the most qualified visitors. Use analytics tools such as Google Analytics, Plausible, or hosting logs to find pages with high traffic and weak conversion. Then add chat there first.
Creating Welcome Messages That Start Better Conversations
A weak welcome message says, “How can we help?” It is not wrong, but it pushes all effort onto the visitor. A better message tells them what kind of question is welcome.
Use one of these patterns:
| Page type | Better welcome message |
|---|---|
| SaaS homepage | “Building with this? Ask me anything before you try it.” |
| Pricing page | “Not sure which option fits? Send your use case.” |
| Waitlist page | “Want early access? Tell me what you’re building.” |
| Docs page | “Stuck integrating this? Send the page and error you’re seeing.” |
| Portfolio | “Have a project in mind? Share the goal and timeline.” |
| Ecommerce page | “Questions before ordering? Ask here.” |
Keep it human. Knocket is designed for real conversations between visitors and the person behind the product. Do not pretend to have a large support department if it is just you. A founder-style message often gets better replies because it feels direct.
Testing Chat on Desktop, Mobile, and Different Browsers
Testing is not just “does the button appear?” You need to verify the full visitor-to-founder loop.
Run this checklist:
- Open the published page in Chrome.
- Confirm the chat button appears after load.
- Send a message as a visitor.
- Confirm you receive it in Knocket Inbox.
- Reply from the inbox.
- Confirm the visitor sees the reply.
- Repeat from mobile Safari or Chrome.
- Test an incognito/private window.
- Confirm the widget does not overlap important buttons.
Performance matters because chat should not damage the page experience. Google’s web.dev guidance on Interaction to Next Paint explains why slow interactions affect perceived responsiveness. If your page already loads many third-party scripts, audit them before blaming the chat widget.
If you do not see the widget, check these common causes:
- You pasted the script into a page-specific area instead of global site code.
- The site was not republished after editing custom code.
- The
identifieris missing or copied incorrectly. - A content security policy blocks the script.
- A browser extension is blocking third-party scripts.
- You are testing a cached page version.
Tracking Leads, Conversations, and Support Outcomes
Knocket gives you a lightweight way to capture and reply to conversations, but it is not a CRM and should not be treated like one. For an early product, useful tracking can stay simple.
Track three things:
| What to track | How to track it | Why it helps |
|---|---|---|
| Lead intent | Review conversation content in Knocket Inbox | Shows what visitors actually want |
| Response speed | Check whether you noticed and replied promptly | Fast replies prevent lost conversations |
| Product friction | Copy repeated questions into your roadmap or docs backlog | Repeated confusion is product feedback |
For more structured measurement, pair Knocket with your analytics tool. For example, add live chat to your pricing page, then compare pricing-page conversions before and after. Do not over-attribute every signup to chat. Instead, look for practical signals: better questions, fewer abandoned demos, more beta requests, and clearer objections.
If you want messages from multiple entry points, combine the website widget with a Knocket Contact Page. That gives you a shareable link for places where you cannot embed JavaScript, such as social profiles, email signatures, QR codes, and launch communities.
Final Checklist Before Publishing Your Chat Widget
Use this before you announce the change or launch a page with chat enabled.
- Widget script copied from the official Knocket console
- Correct identifier included
- Script pasted before
</head>or</body>, or loaded from a shared app layout - Website republished successfully
- Chat button visible on the intended pages
- Desktop test completed
- Mobile test completed
- Incognito/private browser test completed
- Founder or team notification path confirmed
- Reply loop tested from visitor message to founder reply
- Welcome message specific to the page
- Widget does not cover important mobile CTAs
- Privacy policy reviewed if you collect personal information
- Backup contact route available, such as email or a Knocket Contact Page
If you want a minimal first version, install the widget on your homepage and pricing or waitlist page only. Expand after you know where conversations are useful.
FAQ
How do I add live chat to website pages without coding a backend?
Use a hosted website chat widget like Knocket. You copy one async script from the console, paste it into your site’s global code area, and reply from the Knocket Inbox or connected notification channels. You do not need to build chat storage, realtime messaging, or a database yourself.
Is Knocket a CRM or helpdesk?
No. Knocket is a lightweight contact tool for indie developers and early teams. It helps you add a live chat widget, publish a Contact Page, and manage messages in a unified inbox. It is not a CRM, helpdesk, enterprise customer-service suite, or Intercom replacement.
Can I install the Knocket widget on WordPress, Shopify, Webflow, or Framer?
Yes. Any platform that allows custom JavaScript can use the Knocket widget. Paste the script into the platform’s global head or body code area, publish the site, then test the chat button from a visitor browser.
Will the chat widget slow down my website?
Knocket’s web widget uses an async script, so it is designed not to block initial rendering. Still, test your site after installation, especially if you already load many third-party scripts.
What should my first welcome message say?
Make it specific to the page. For a pricing page, try “Not sure if this fits your use case? Ask here.” For a waitlist page, try “Want early access? Tell me what you’re building.”
Can I use Knocket if I do not have a website yet?
Yes. Create a no-code Contact Page from the Knocket Contact Page builder and share the link anywhere: social bio, email signature, launch post, QR code, or beta invite.
How much does Knocket cost?
Knocket is 100% free forever, with no ads and no seat limits. Start with the Knocket website and add your first live chat widget when you are ready to catch every visitor who wants to reach you.